|
|
Post by kaix on Oct 10, 2008 15:14:47 GMT 8
congratulations on the finished product! for a first time mod and paint job, you did pretty well...a lot better than how i did on my first try anyway. there are improvements points but i'm sure you'll be able to master the techniques soon enough. consistent study and practice is all it takes. kudos bro! ty bro! like what we talked about last time, gunpla really is fun to explore hahahah. ill try to pour in additional points on the next project like you said. and one more thing, i suck at seam lines, i need to have a fix on it too ;D two thumbs up for the job well done bro...  nice work on your latest kit... thank you bro! glad you liked it ;D Zaku Neon is finish! And you just hand-painted it? Nice job! vic01 master vic! thank you! glad you liked the paint job! i have to practice more to make great models like you ;D |
|
|
|
Post by kaix on Oct 10, 2008 21:31:54 GMT 8
my next project 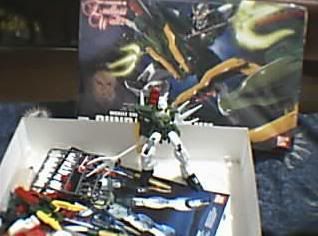 i will put on the knee bend mg-style since i was frustrated at my previous zaku's left leg attempt.  I decided display him in an attacking pose. sadly, the left elbow peg broke as i am doing the test pose. i substitute with clay to have a nice view of the posing. ------------------ 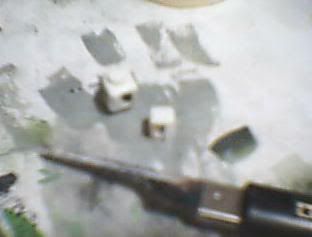 because of the early tragedy that happened to the left arm, i went to fix the part right away. i also noticed the shoulder part construction very "vintage", pc parts + peg = weak support. so i decided to make it like the shoulder-elbow twist like latest HG 144 models released. 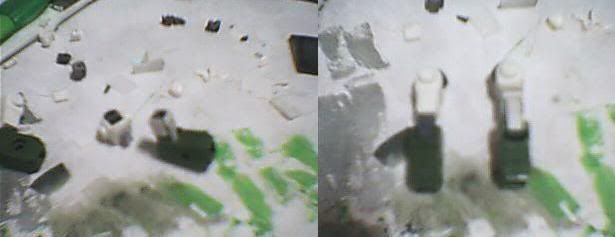 with pla plates, rods and spare pc parts i scratchbuilt the shoulder and elbow connection. comparison with normal parts on the left and modded on the right. 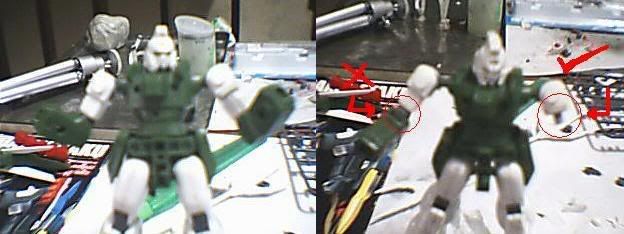 the left arm now more complex and safer to twist 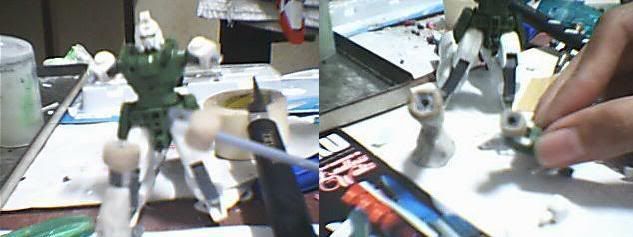 after both parts are done. i wrapped it around with epoxy clay. started with the left part, i sanded it down until i got the right thickness to align on the shoulder. 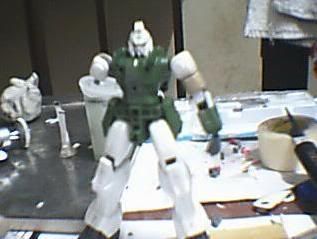 here we got a slim result ;D |
|
|
|
Post by Lotur on Oct 12, 2008 1:17:33 GMT 8
the wu fei custom looks real promising! happy wipping  |
|
|
|
Post by kaix on Oct 12, 2008 2:28:30 GMT 8
ty General Lotur! hahahah that's what im gonna call you now for holding a big army!
|
|
|
|
Post by kaix on Oct 12, 2008 2:33:37 GMT 8
updates yahah 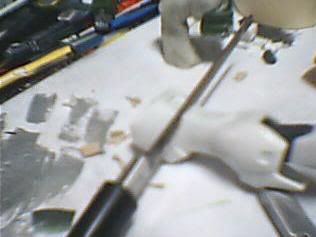 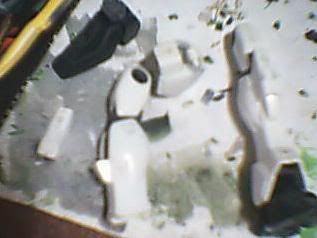 chop chop the parts to be modified 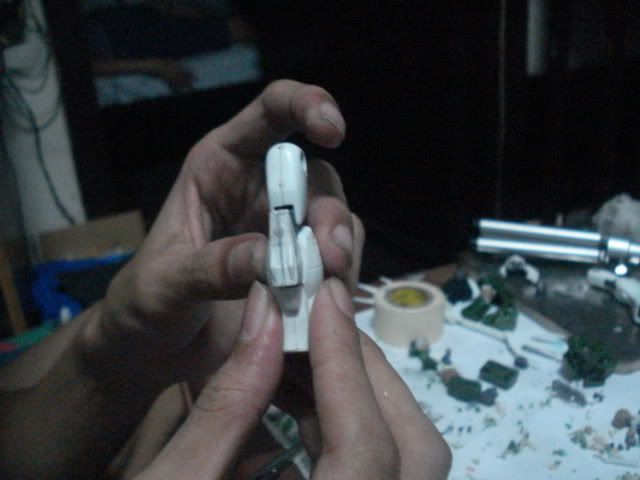 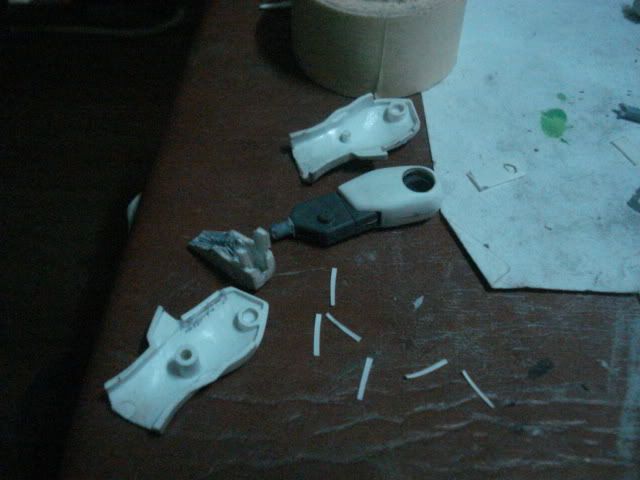 test fit and scoping on what to do for the knee bend mod 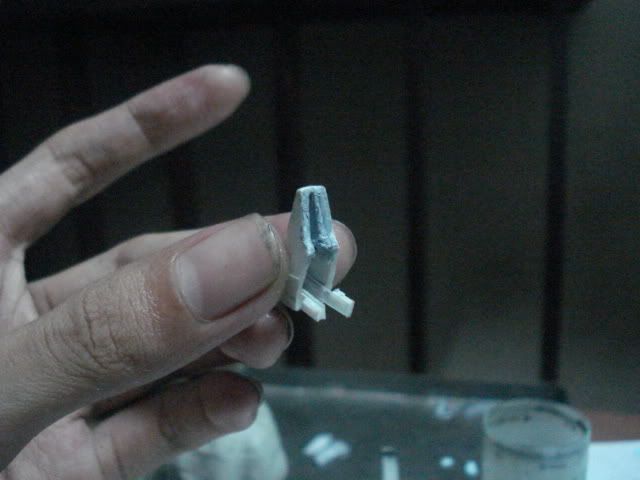 i put putty on upper part. will serve as "reciever" when raised. also added lower tail support so the knee armor will not fall off. 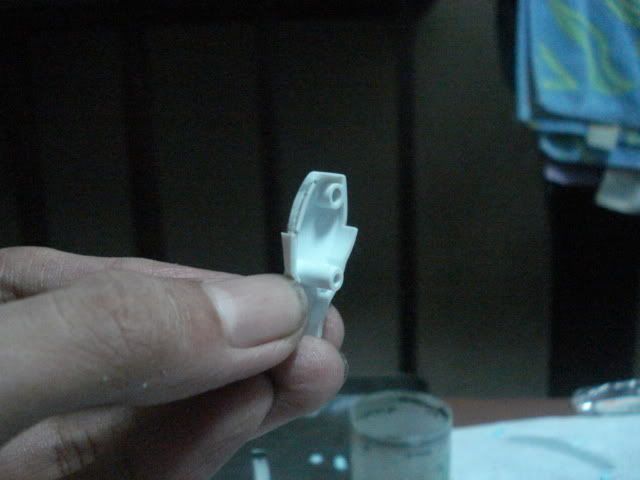 extended the sawed part with plaplates to act as a lock for the knee armor. 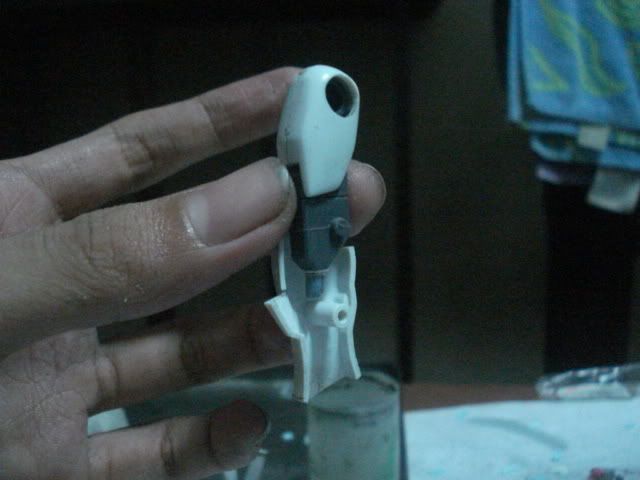 leg internal. i put a rod on the knee joint. this one will initiate the motion for knee armor to raise. |
|
|
|
Post by kaix on Oct 12, 2008 2:36:08 GMT 8
|
|
|
|
Post by Lady Commander on Oct 12, 2008 20:21:51 GMT 8
very nice.. now it can completely flex.. veyr very nice..  |
|
|
|
Post by kaix on Oct 12, 2008 21:59:27 GMT 8
dio queen darnelle! thank you for the visit! glad you liked it ;D
|
|
|
|
Post by kaix on Oct 12, 2008 22:03:30 GMT 8
some updates 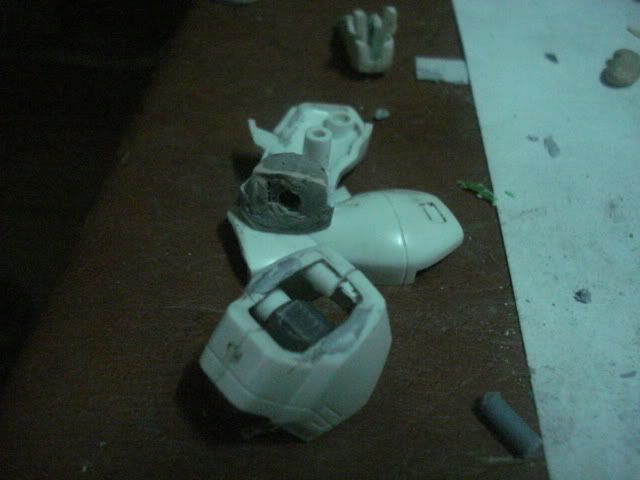 i just thought that before i do it on the left leg, it's best to finish all the mods to be done on the right. so i did the ankle parts. i wrapped a pc socket in epoxy clay and placed it on the lower leg to connect to the ankle armor. 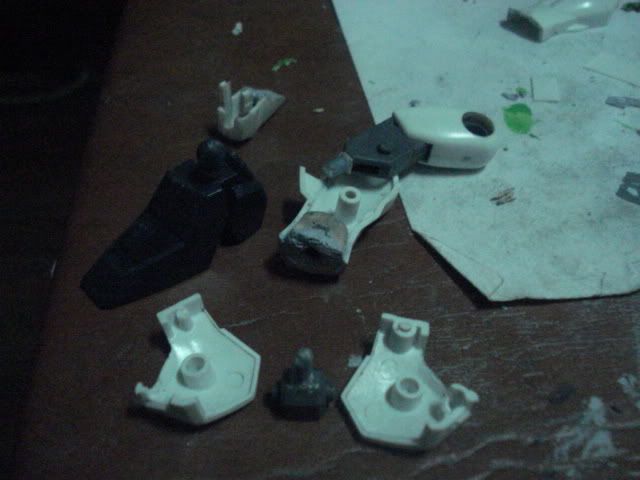 drilled a hole and put rod on the ankle joint. will connect to the socket of the lower leg. 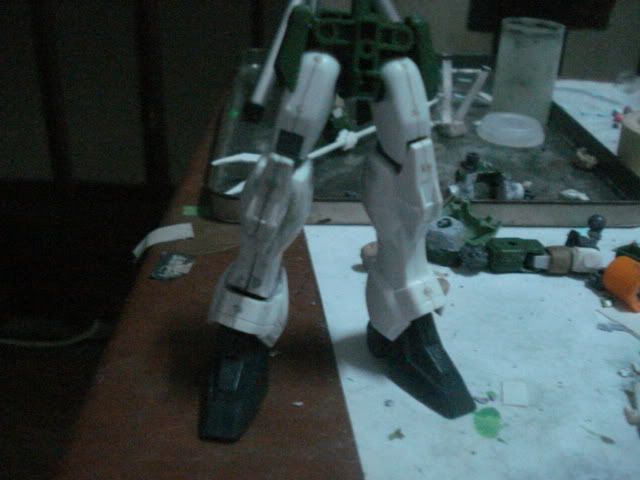 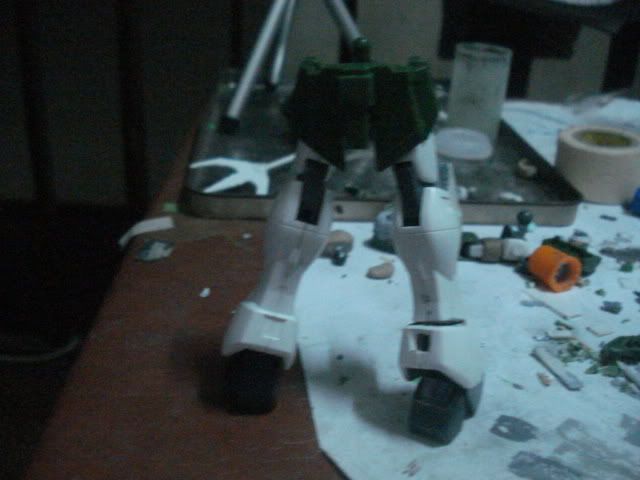 comparison of parts. 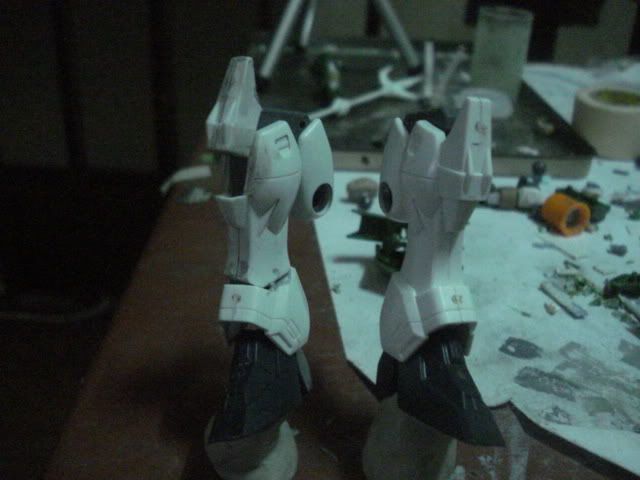 reviewing the points of articulation. oook! on to the left leg now ty all for viewing ;D |
|
|
|
Post by GundamX on Oct 13, 2008 0:43:27 GMT 8
wow hanep pre, you're the first person i've seen that turns an HG 1/144 to an MGish look  awesome work!!!  Don't you get any problem in painting the parts after applying some putty specially if you're using a brush?  |
|
|
|
Post by qb on Oct 13, 2008 13:38:34 GMT 8
not bad.......
|
|
|
|
Post by RainerO on Oct 13, 2008 13:58:14 GMT 8
Full updates on your current wip there the nataku, goodluck on it!
|
|
|
|
Post by kaix on Oct 13, 2008 21:50:31 GMT 8
Full updates on your current wip there the nataku, goodluck on it! ty bros ;D going full burst on this one hahahah! i don't want to miss a thing on updates for other viewers to see so they can have an idea. i myself learned from reading kick@ss wips too  wow hanep pre, you're the first person i've seen that turns an HG 1/144 to an MGish look  awesome work!!!  Don't you get any problem in painting the parts after applying some putty specially if you're using a brush?  ty bro glad you liked it. for painting putty using brush, i had problems before on my zaku, probably because i didn't use primer and painted right away, i had to do multiple coats for the paint to properly stick. ;D |
|
|
|
Post by kaix on Oct 13, 2008 21:52:43 GMT 8
 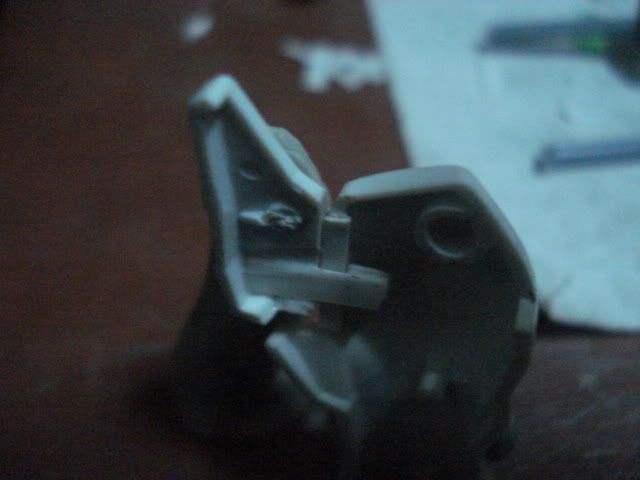 here is how the knee armor was locked in place |
|
|
|
Post by kaix on Oct 13, 2008 21:57:18 GMT 8
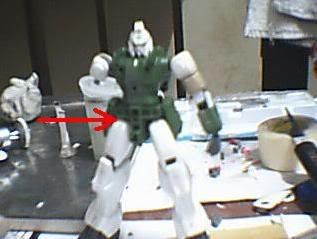 crotch part lacks space. it cannot pose a nice bend since the thigh part hits the spot. so im gonna elevate the part. 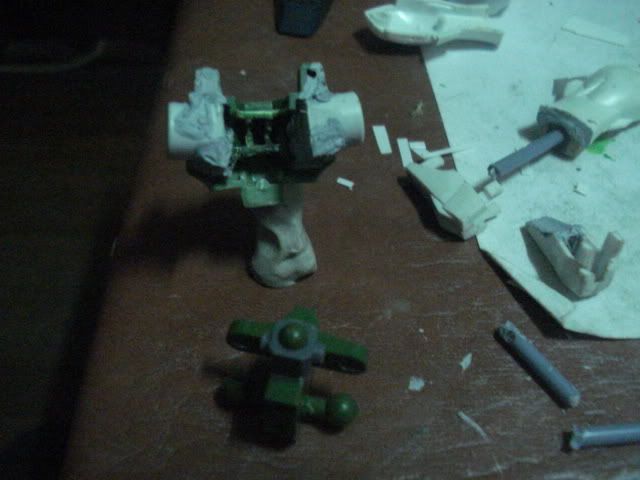 the original crotch part. the other one is the front chest, hollowed out, fitted in were sockets, waiting for putty to dry. 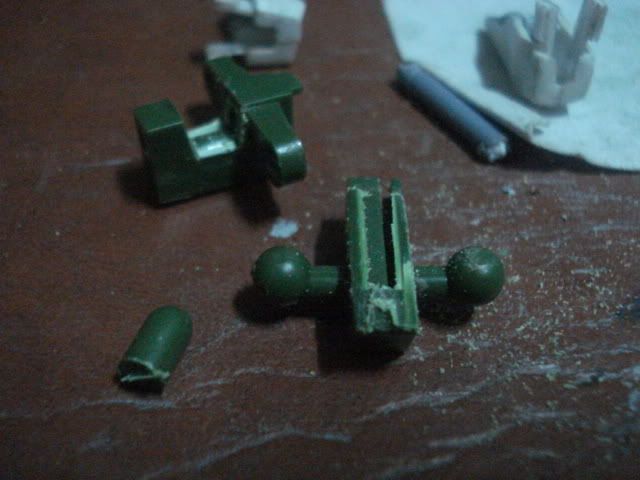 split the crotch into parts that needs mod 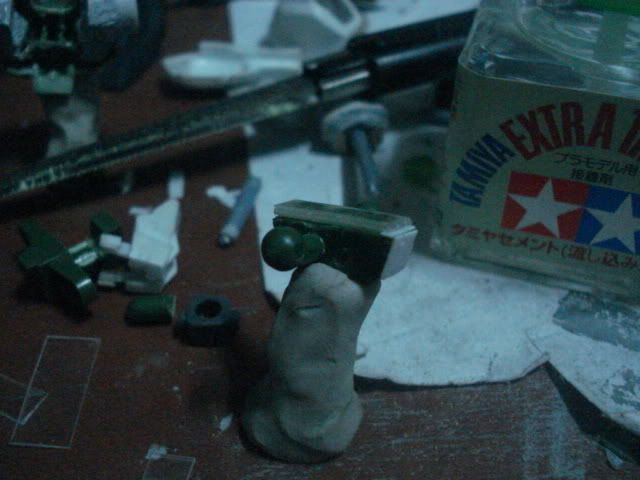 plaplates for elevation. 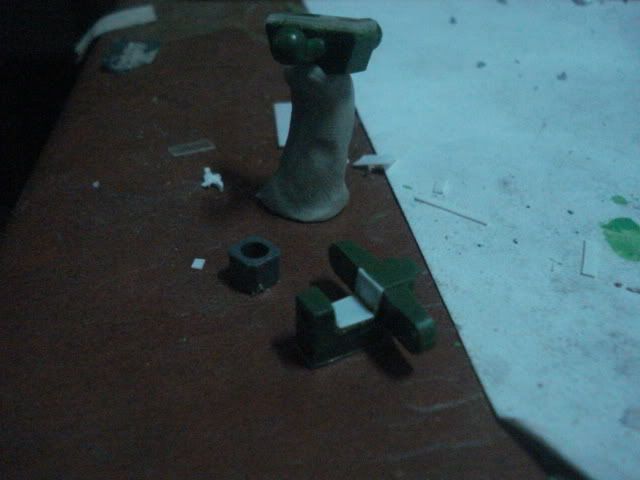 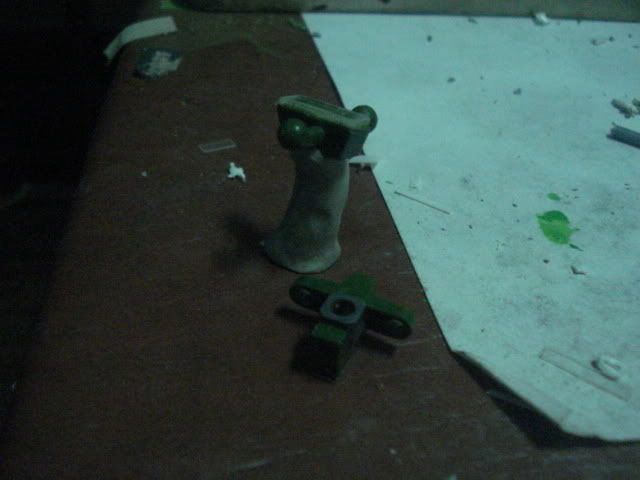 i reversed the connection of lower abdomenal and crotch. putting rod on the lower abdomenal and hole on the crotch part. 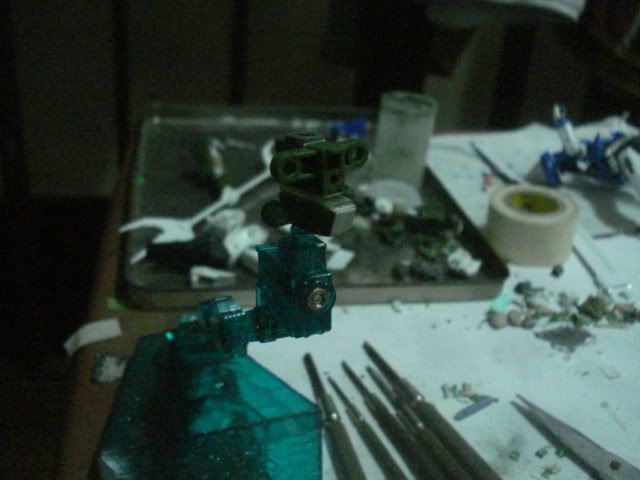 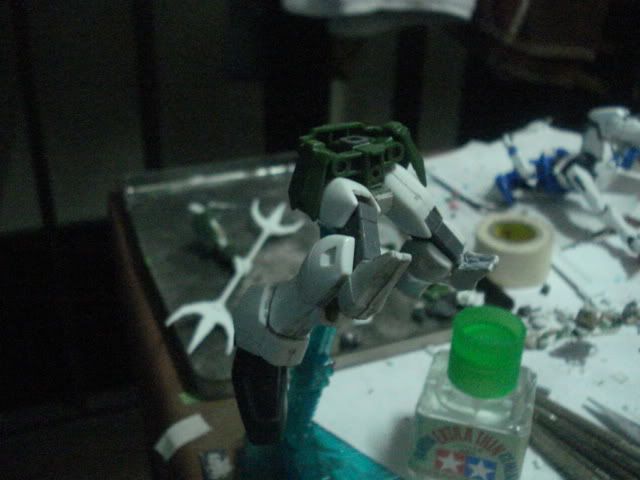 while im at it. i drilled a hole so it can fit the action base using screw drivers. next part is my favorite torso mod ;D |
|