Post by delta408 on Jun 14, 2009 21:24:55 GMT 8
Hi folks. This is my first ever WIP on a mini. I will be posting work of painted miniatures in the 30mm scale (3cm tall). Ibson the Grey's (dungeoncrawlers.com/phpbb forum) instructions on making a custom Mage Knight mini dial inspired me to do this. This thread chronicles my progress in painting minis [in progress and finished].
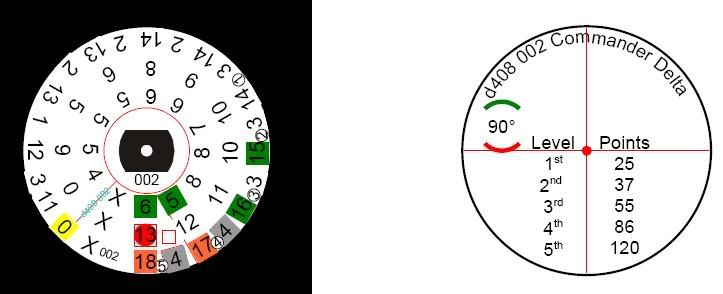
For those who're not familiar with MK Dungeons, above is the dial I made.
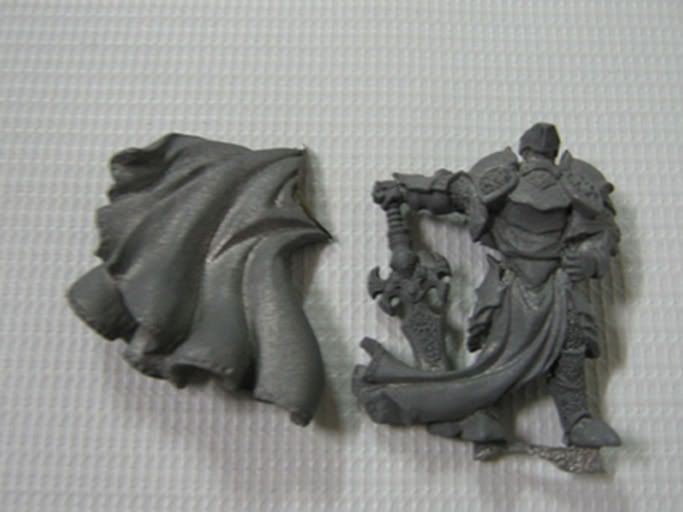
The first picture shows the Paladin of the Order of the Wall primed with a light misting of grey primer. I think I should have covered more area but I was afraid that the details would be obscured.
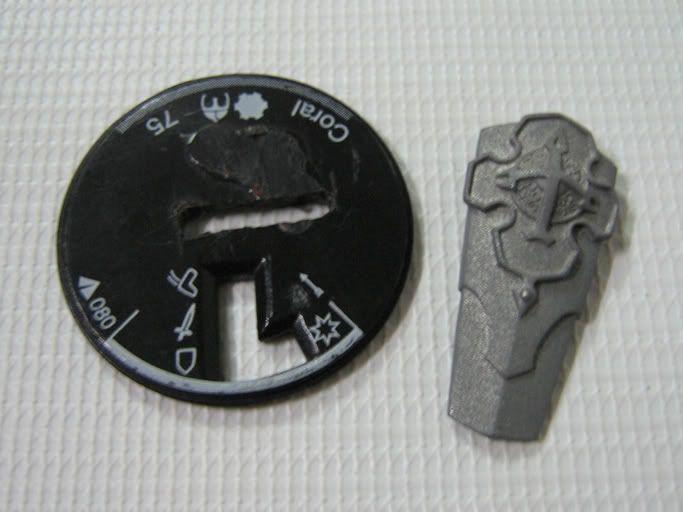
The next picture shows the shield similarly primed and the base I'm using for the mini [Coral made a noble sacrifice]. I made the hole for the mini by using a pin vise to drill many holes and then a hobby knife to clean up. I didn't make the hole too neat so that when I glue the mini to the base, it will also make for a tight fit.
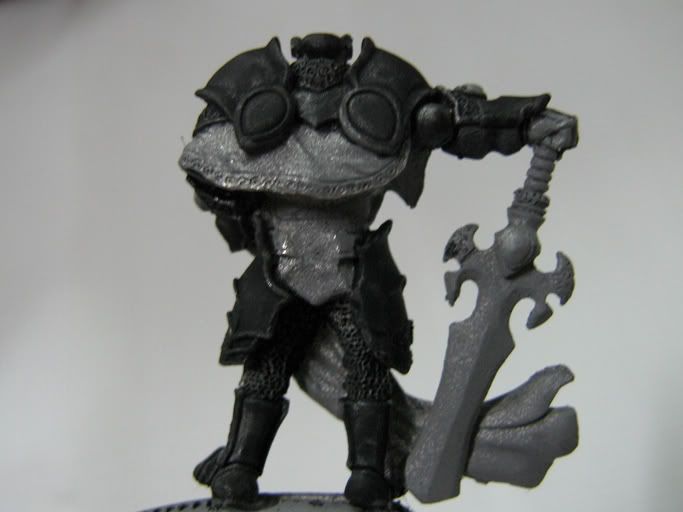
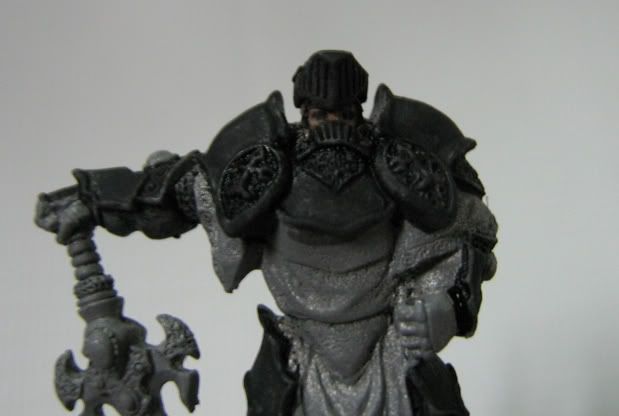
The next 2 pictures show the areas base coated with black. I will paint in metallics [not NMM because I have no idea where to start with that ] because I read somewhere that metallic paint looks better if the base coat is black.
I decided to paint the armor plates red with gold trim, the cloth with white and the chain mail with gunmetal with a dry brush of chrome silver [Tamiya colors].
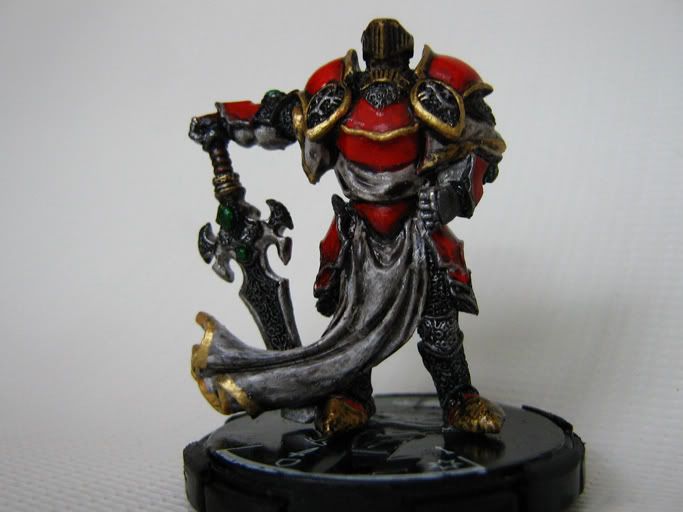
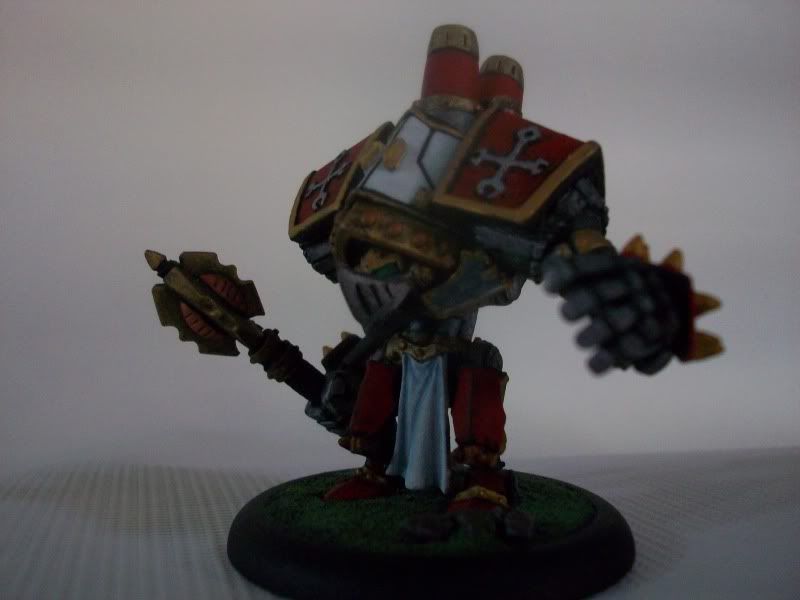
Above is a shot of my paladin as he is now. White and red are really challenging to paint and I had to get many layers of red on before it was red enough for me. The white on the other hand gave me more trouble as I tried to make several layers from a greyish color building up to white highlights. In the end, I just painted white and then made a light grey wash that i painted in the recesses and a thin line of black wash in the deepest areas. I finished it off with a black wash so it looks like it's dirty from Atlantean golem oil.
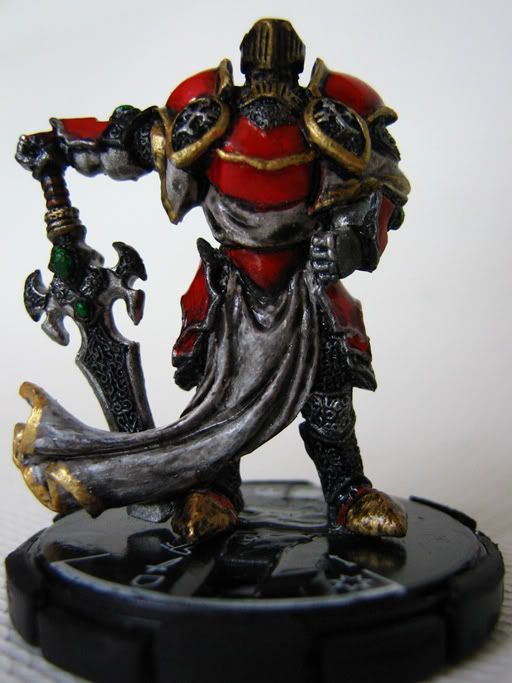
Above is another shot of him a bit closer. [sigh I wish I could have done the eyes properly...] Perhaps with a magnifying lens that's mounted to an arm, I will be able to do that. Even with a 000 brush, I couldn't do it properly.
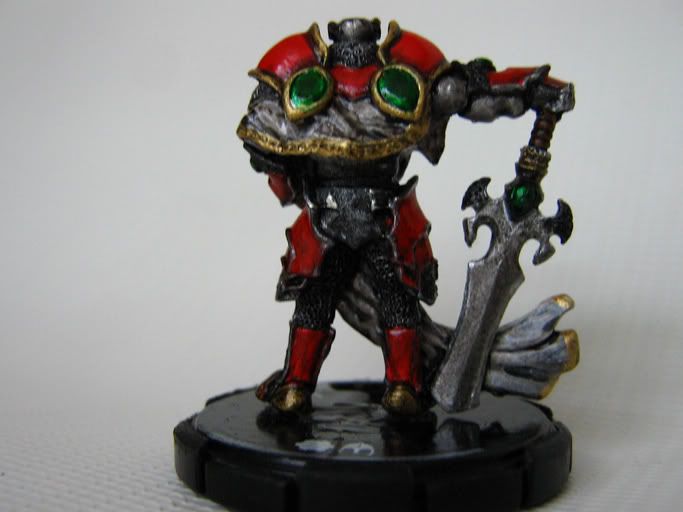
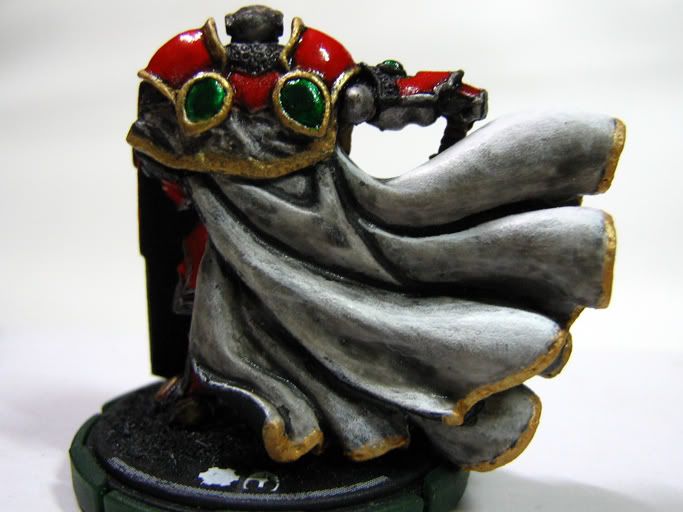
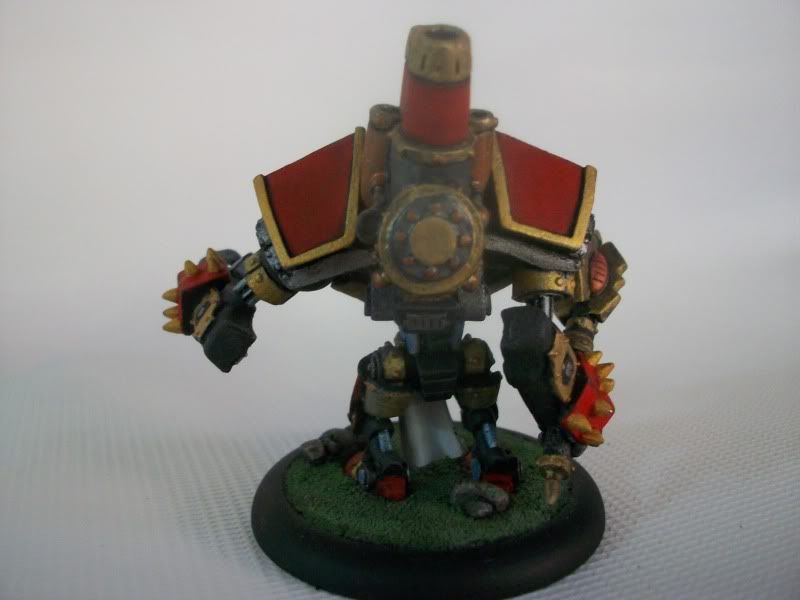
A view of the rear of the mini. Hmm... the gold needs touching up.
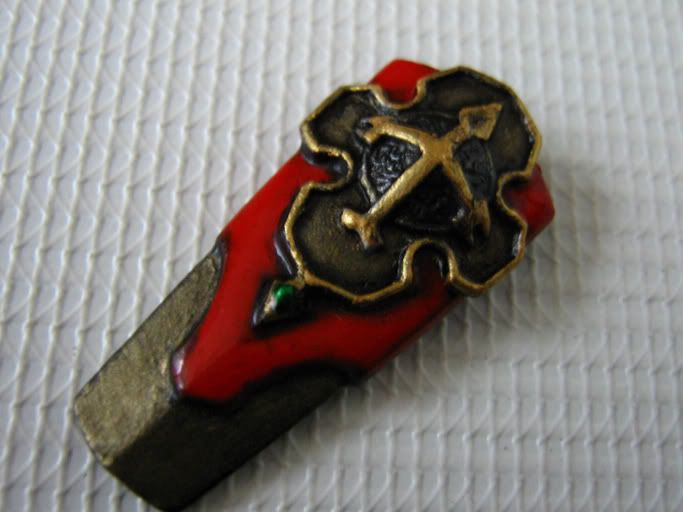
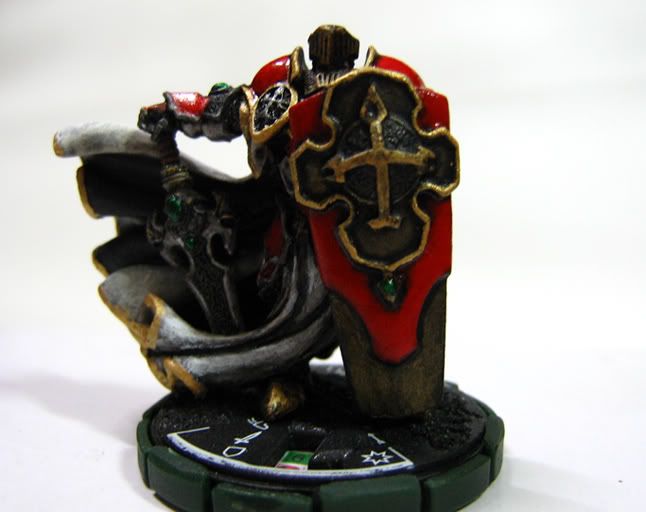
Here's the shield which I had a lot of fun painting. Looks like the edges of the red parts need a bit more red..
At this point, there are still a few things I want to do like add highlights and clean the lines up here and there. Even at work, I find time to paint this thing and I'm learning new things by reading the articles on this site. I haven't quite applied them since I still have to consume all of the Tamiya stuff I have. Tamiya is ok but GW, Vallejo and Rackham should be way better. One I get a new set of those I'll try newer things like blending.
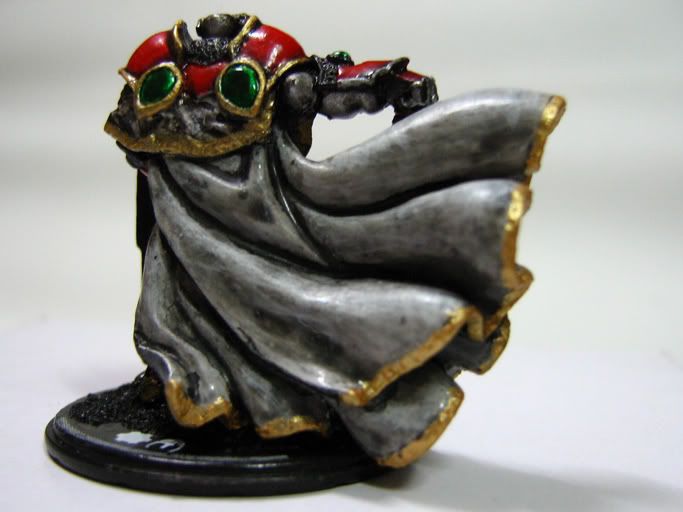
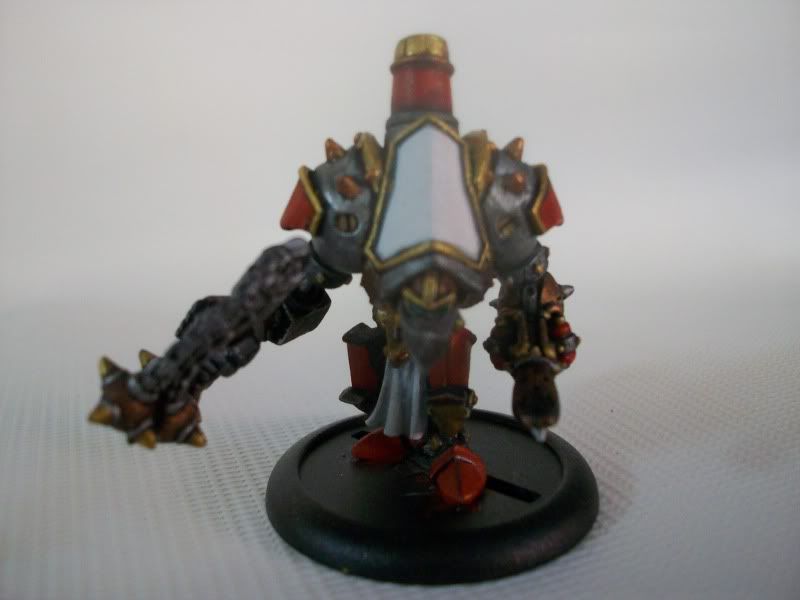
The Custom MK Mini is pretty much done except for a few touch ups like a part on the inner cape that needs a bit of black and gold. Here are the pics. Enjoy!!!
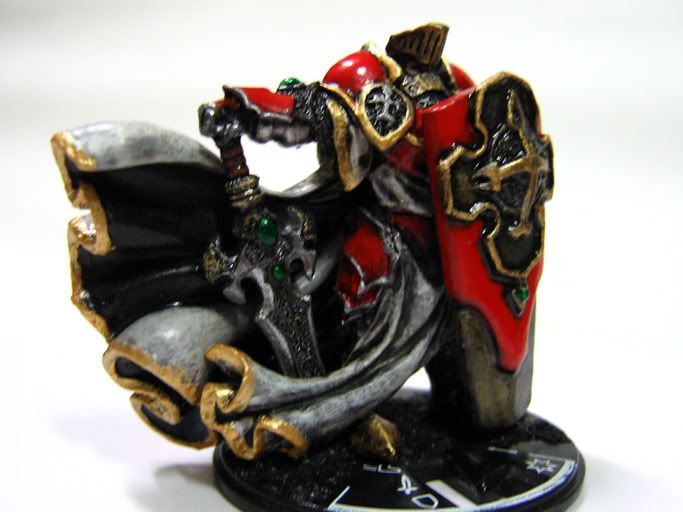
This is the first pic of Commander Delta. The pic may be a bit fuzzy because the camera is almost out of battery power.
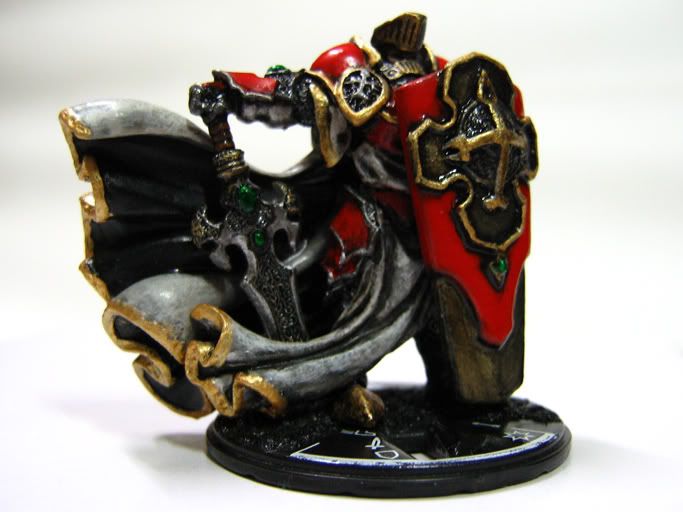
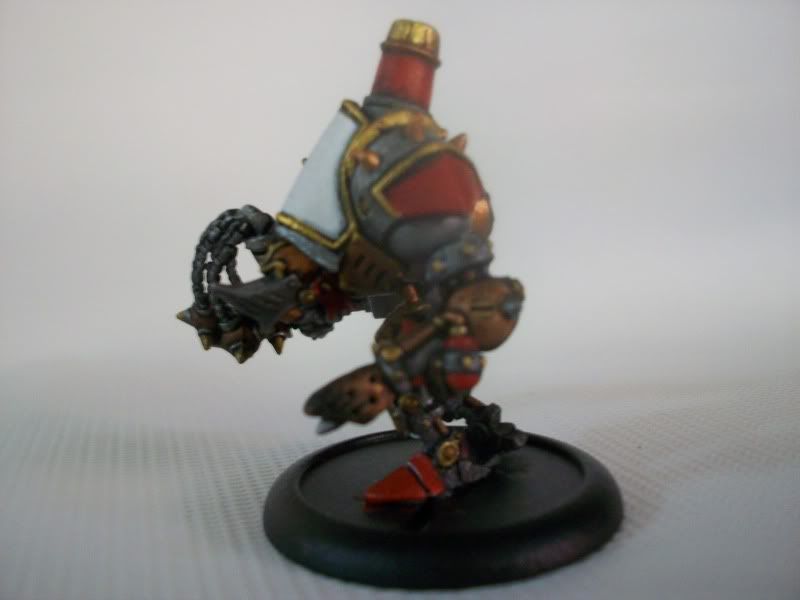
Another shot...
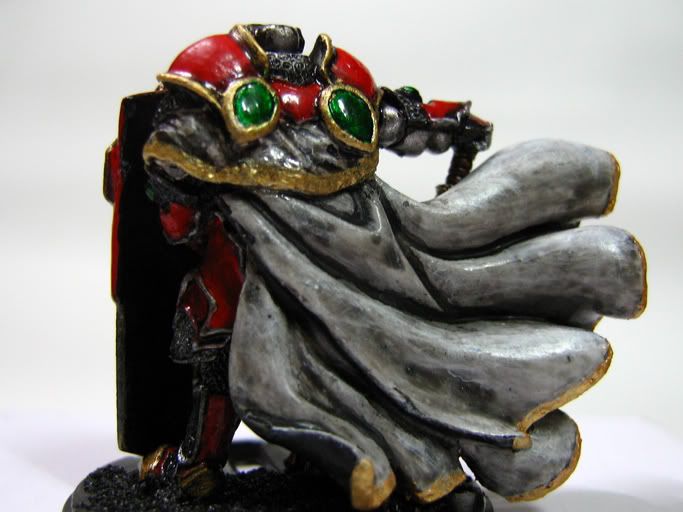
There is a spot on the cape that's bothering me. It looks like there's a splash of paint.
What I learned from this mini is that using an acrylic retarder helps make the paint flow smoother, but it seems to have made the layers too thick. This is especially clear on the shield and the cape. Next time, I'll stick to water and use the retarder very sparingly.
Constructive criticism is welcome.
Cheers!

For those who're not familiar with MK Dungeons, above is the dial I made.

The first picture shows the Paladin of the Order of the Wall primed with a light misting of grey primer. I think I should have covered more area but I was afraid that the details would be obscured.

The next picture shows the shield similarly primed and the base I'm using for the mini [Coral made a noble sacrifice]. I made the hole for the mini by using a pin vise to drill many holes and then a hobby knife to clean up. I didn't make the hole too neat so that when I glue the mini to the base, it will also make for a tight fit.


The next 2 pictures show the areas base coated with black. I will paint in metallics [not NMM because I have no idea where to start with that ] because I read somewhere that metallic paint looks better if the base coat is black.
I decided to paint the armor plates red with gold trim, the cloth with white and the chain mail with gunmetal with a dry brush of chrome silver [Tamiya colors].

Above is a shot of my paladin as he is now. White and red are really challenging to paint and I had to get many layers of red on before it was red enough for me. The white on the other hand gave me more trouble as I tried to make several layers from a greyish color building up to white highlights. In the end, I just painted white and then made a light grey wash that i painted in the recesses and a thin line of black wash in the deepest areas. I finished it off with a black wash so it looks like it's dirty from Atlantean golem oil.

Above is another shot of him a bit closer. [sigh I wish I could have done the eyes properly...] Perhaps with a magnifying lens that's mounted to an arm, I will be able to do that. Even with a 000 brush, I couldn't do it properly.

A view of the rear of the mini. Hmm... the gold needs touching up.

Here's the shield which I had a lot of fun painting. Looks like the edges of the red parts need a bit more red..
At this point, there are still a few things I want to do like add highlights and clean the lines up here and there. Even at work, I find time to paint this thing and I'm learning new things by reading the articles on this site. I haven't quite applied them since I still have to consume all of the Tamiya stuff I have. Tamiya is ok but GW, Vallejo and Rackham should be way better. One I get a new set of those I'll try newer things like blending.
The Custom MK Mini is pretty much done except for a few touch ups like a part on the inner cape that needs a bit of black and gold. Here are the pics. Enjoy!!!

This is the first pic of Commander Delta. The pic may be a bit fuzzy because the camera is almost out of battery power.

Another shot...

There is a spot on the cape that's bothering me. It looks like there's a splash of paint.

What I learned from this mini is that using an acrylic retarder helps make the paint flow smoother, but it seems to have made the layers too thick. This is especially clear on the shield and the cape. Next time, I'll stick to water and use the retarder very sparingly.
Constructive criticism is welcome.
Cheers!


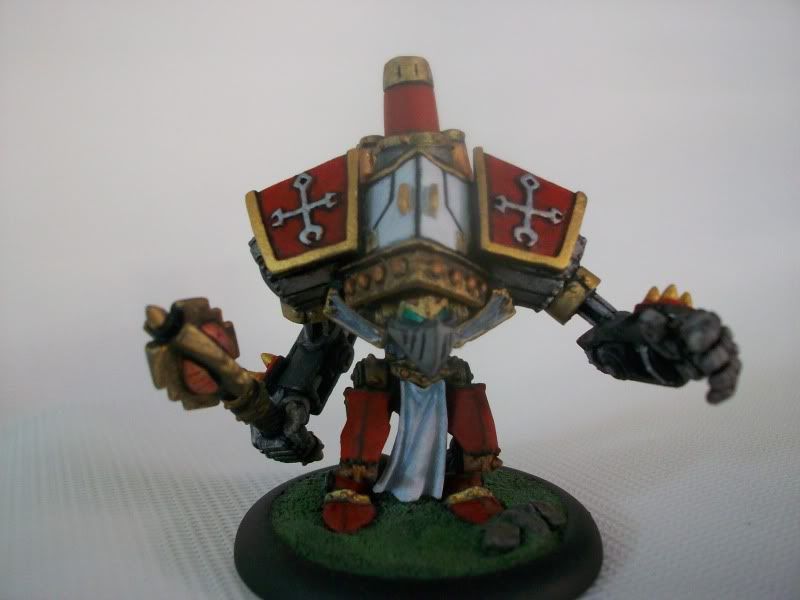



 keeping the site active as a place to dump info for easier backtracking.